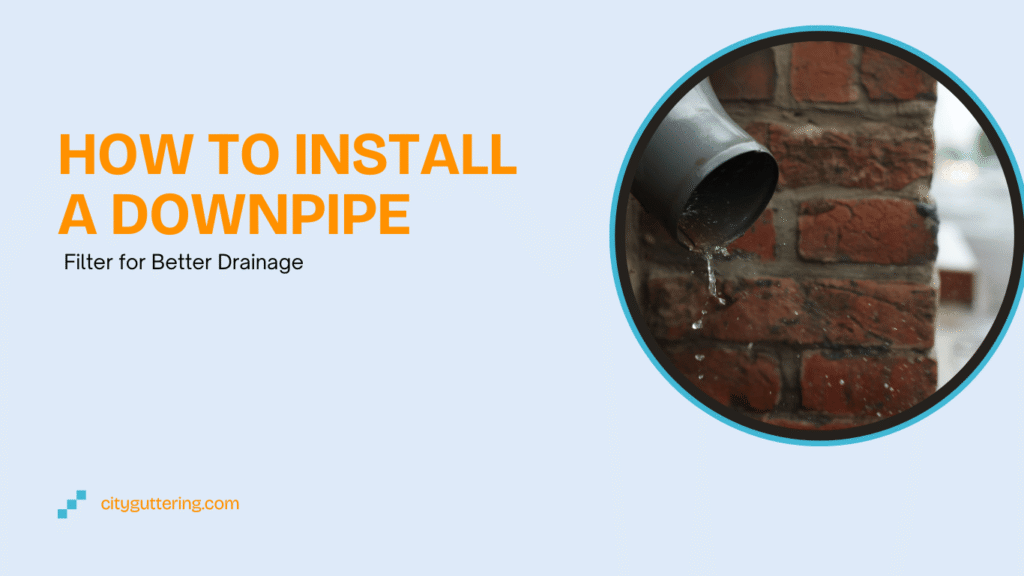
Keeping gutters in good working order is one of the most effective ways to protect a property from water damage. One simple addition that makes a big difference is a downpipe filter. Designed to catch leaves, moss, and debris before they travel further into the drainage system, a filter can extend the lifespan of your gutters and prevent costly repairs.
In this guide, you’ll learn what downpipe filters are, why they matter, and how to install one safely. Whether you’re a homeowner maintaining your first property or managing a larger commercial building, understanding this process will save you time, effort, and money in the long run.
What Is a Downpipe Filter and Why Do You Need One?
A downpipe filter is a small but vital fitting that sits within or at the top of your gutter’s downpipe. Its job is straightforward: trap debris before it enters the drainage line. Without one, rainwater often carries leaves, twigs, and dirt into the pipes, leading to clogs, overflows, and leaks.
For properties in areas like London and Surrey, where rainfall is frequent and trees shed heavily in autumn, filters can make a significant difference. They not only improve water flow but also reduce the need for emergency gutter repairs after storms.
Tools and Materials You’ll Nee
Before starting, gather everything required. This will make the installation process smoother and safer.
Tools and equipment:
- Ladder with stabilisers
- Work gloves and protective eyewear
- Screwdriver or spanner (depending on filter type)
- Sealant or waterproof tape
- Hacksaw (if the downpipe needs cutting)
Materials:
- Downpipe filter kit (correct size for your gutter system)
- Clips or brackets for securing the fitting
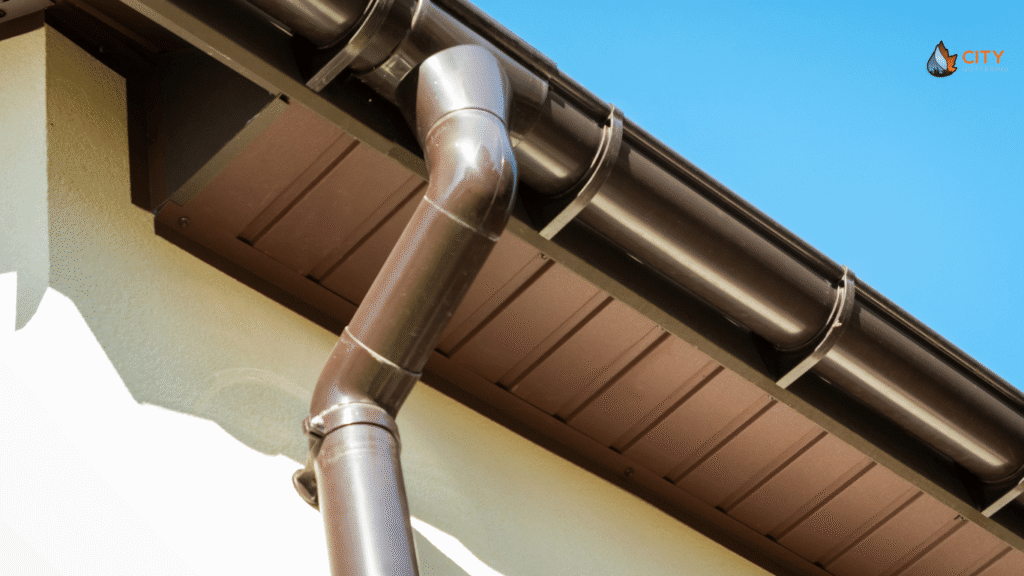
Preparing the Gutter System Before Installation
It’s important to prepare the area before fitting a filter. Installing on a dirty or damaged system will only create more problems.
- Inspect the gutters and downpipes – Look for cracks, sagging sections, or leaks that might need repair.
- Clean thoroughly – Remove leaves, dirt, and moss. This ensures the filter starts working effectively from day one.
- Check connections – Make sure brackets are secure and that the downpipe is stable enough to hold the filter in place.
Step-by-Step Guide to Installing a Downpipe Filter
Step 1: Measure and Mark the Downpipe
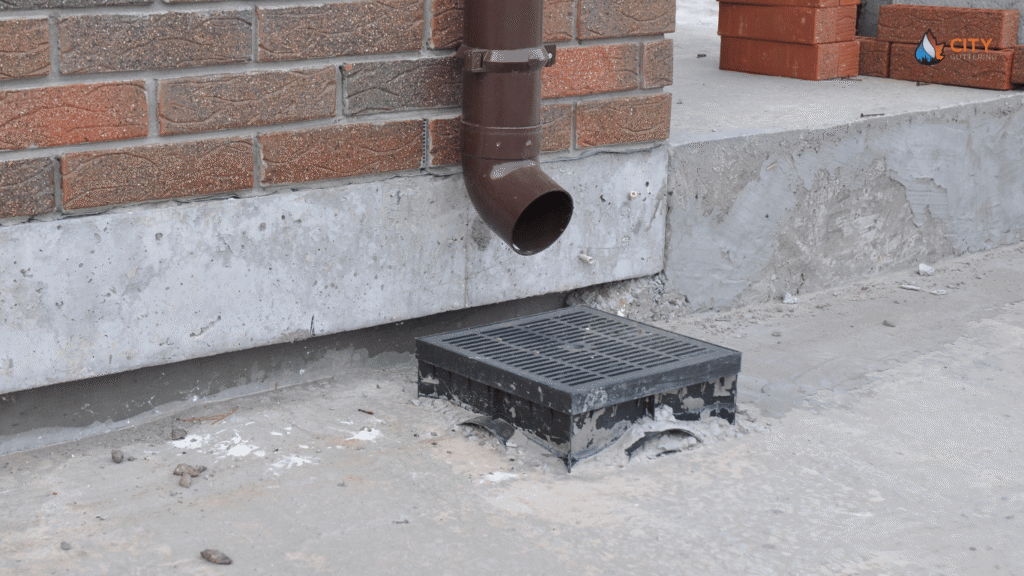
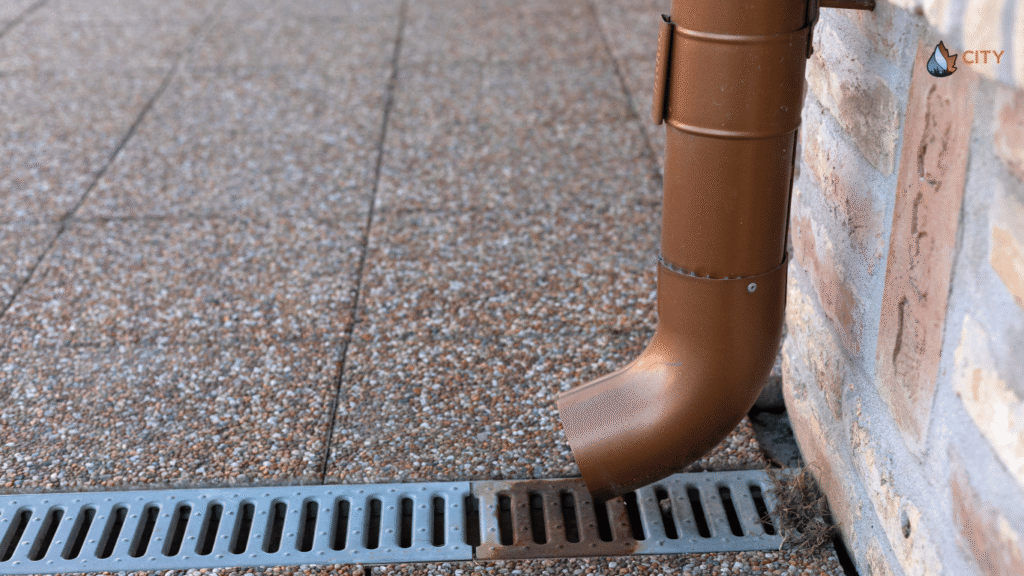
Identify the best position for the filter. In most cases, this is near the top of the downpipe, where water first enters from the gutter. Mark the spot to keep your installation accurate.
Step 2: Cut or Adjust the Downpipe
If your filter requires fitting inside the pipe, you may need to cut a section of the downpipe. Use a hacksaw carefully and ensure the cut is straight. For external basket filters, this step may not be necessary.
Step 3: Fit the Filter
Place the filter into the marked area. In-line filters slide neatly inside the pipe, while basket filters sit over the opening. Diverter-style filters, which redirect water into a storage tank, are fitted to a side opening.
Step 4: Seal and Secure
Once in position, use clips, brackets, or waterproof sealant to hold the filter firmly. A secure fit prevents leaks and ensures the filter doesn’t shift during heavy rain.
Step 5: Test the System
Run water through the gutters using a hose or during rainfall. Check that the filter holds back debris but still allows water to flow freely.
Different Types of Downpipe Filters
Not all filters are the same. Choosing the right one depends on your property type and drainage needs.
- In-line filters – Hidden within the pipe, effective for trapping small particles.
- Diverter filters – Redirect water into water butts or storage tanks, ideal for rainwater harvesting.
- Basket or mesh filters – Simple designs that sit at the pipe opening, best for larger leaves and twigs.
Each type has its strengths, but all require regular checks to keep them performing well.
Common Mistakes to Avoid During Installation
Even a simple job can go wrong if not approached correctly. Some frequent mistakes include:
- Placing the filter too low, which reduces efficiency.
- Installing without cleaning the gutters first.
- Using the wrong filter size for your downpipe.
- Forgetting to seal joints, leading to leaks.
Taking the time to measure correctly and prepare your system helps prevent these issues.
Maintenance Tips for Long-Lasting Drainage
Fitting a filter is not the end of the job. Regular care will extend its life and keep your drainage effective.
- Inspect the filter every 2–3 months, especially after autumn leaf fall.
- Remove collected debris to maintain water flow.
- Check for rust, cracks, or blockages.
- Schedule seasonal gutter cleaning to support the filter’s function.
By adding this to your home maintenance routine, you avoid sudden surprises during heavy rainfall.
DIY vs Professional Installation – Which Is Right for You?
Some homeowners prefer to handle installation themselves, and for simple systems, this is achievable. However, there are clear advantages to hiring professionals:
- Safety when working at height.
- Correct sizing and fitting of the filter.
- Identification of other gutter issues that may need repair.
- Peace of mind knowing the system is installed to a high standard.
At City Guttering London, our team regularly installs, cleans, and repairs gutter systems across London, Surrey, and Hampshire. We know the local conditions and provide tailored solutions for each property.
Why Proper Drainage Matters for Your Property
Poor drainage doesn’t just affect gutters. Overflowing water can seep into walls, damage foundations, and create damp problems inside the home. By installing and maintaining a downpipe filter, you are protecting your property from long-term structural damage.
In areas with heavy rainfall, such as London, effective drainage is not optional; it’s essential. The small investment in a filter can prevent thousands of pounds in future repair costs.
When to Replace or Upgrade Your Downpipe Filter
Over time, filters can wear out or become less effective. It may be time to replace or upgrade if you notice:
- Frequent blockages despite cleaning.
- Damaged or broken mesh.
- Rust or cracks in the filter.
- Leaks around the fitting.
A professional inspection will confirm whether repair or replacement is the better option.
Conclusion and Next Steps
Installing a downpipe filter is a straightforward yet important way to keep your gutter system running smoothly. By catching debris early, you improve water flow, prevent blockages, and protect your property from water damage.
Regular gutter maintenance and seasonal checks are key, and while DIY installation is possible, professional fitting ensures long-term reliability.
At City Guttering London, we provide expert gutter cleaning, repair, maintenance, and downpipe filter installation. Serving South London, Surrey, and surrounding areas, our trusted team can inspect your system, recommend the best filter, and install it quickly and safely.