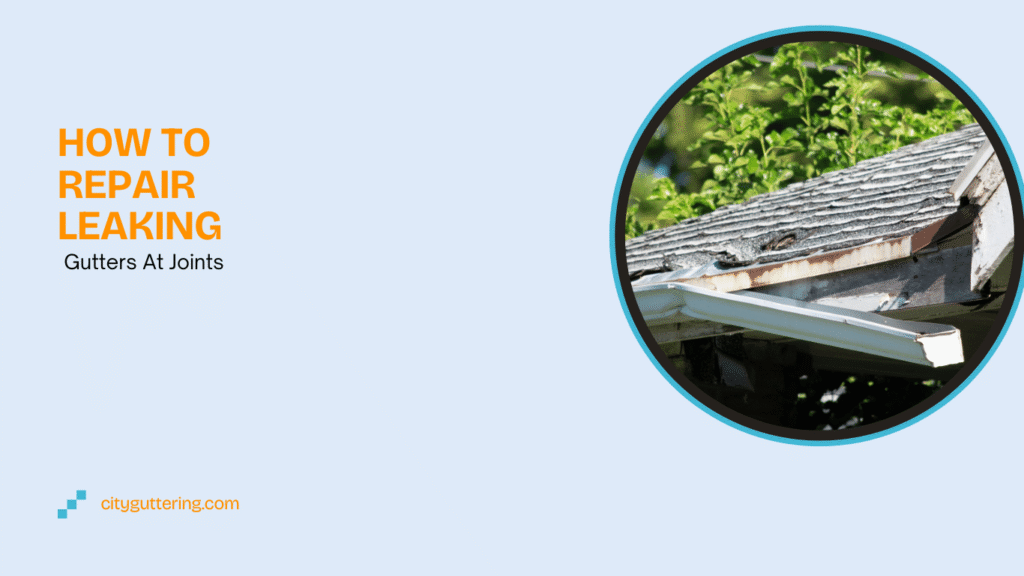
How To Repair Leaking Gutters At Joints: If you’ve spotted water dripping from your gutters, especially where two sections meet, you’re not alone. Leaking gutter joints are one of the most common problems homeowners face. While the leak may look small, it can quickly lead to stained walls, damp interiors, and even structural issues if ignored.
The good news is that repairing leaking gutter joints doesn’t always require a full replacement. With the right steps, you can often fix the problem yourself, and when the damage is more extensive, a professional repair service ensures a long-lasting solution. In this guide, we’ll explain why joints leak, what tools you’ll need, step-by-step repair methods, and when to call experts like City Guttering London for help.
Why Do Gutters Leak at the Joints?
Joints are where two gutter sections meet, making them the weakest points in the system. Over time, they can fail for several reasons:
- Worn seals: Rubber or silicone seals can dry out, shrink, or crack.
- Blockages: Leaves, twigs, and moss push water against joints until it seeps through.
- Rust or corrosion: Metal gutters, particularly older ones, develop holes near seams.
- Loose brackets or screws: When gutters shift out of alignment, water escapes at the join.
- Weather changes: Repeated freezing and thawing in winter can stress and separate seams.
Recognising the signs of a leaking joint early, such as dripping water or damp marks on the walls, saves you from costly repairs later.
Tools and Materials You Will Need
Before you climb a ladder, it’s best to gather everything you’ll need. Having the right kit ensures the job is safe and effective.
Essential tools for gutter repair:
- Ladder with stabiliser
- Safety gloves and goggles
- Bucket or bag for debris
- Cleaning brush or garden hose
- Gutter sealant or exterior caulk
- Replacement seals or joint connectors
- Drill, screwdriver, or rivet gun
- Putty knife or scraper
Safety tip: Always make sure your ladder is stable. If possible, have someone hold it while you work.

Step-by-Step Guide to Repairing Leaking Gutter Joints
Fixing gutter joints takes a bit of preparation, but the results can extend the life of your gutter system.
Step 1 – Inspect the Gutters
Walk around your property and check where the leaks are happening. Look for:
- Dripping seams during rain
- Rust patches or cracks
- Water marks on fascia boards
- Gutters pulling away from the roofline
This inspection tells you whether you need a reseal or a replacement joint.
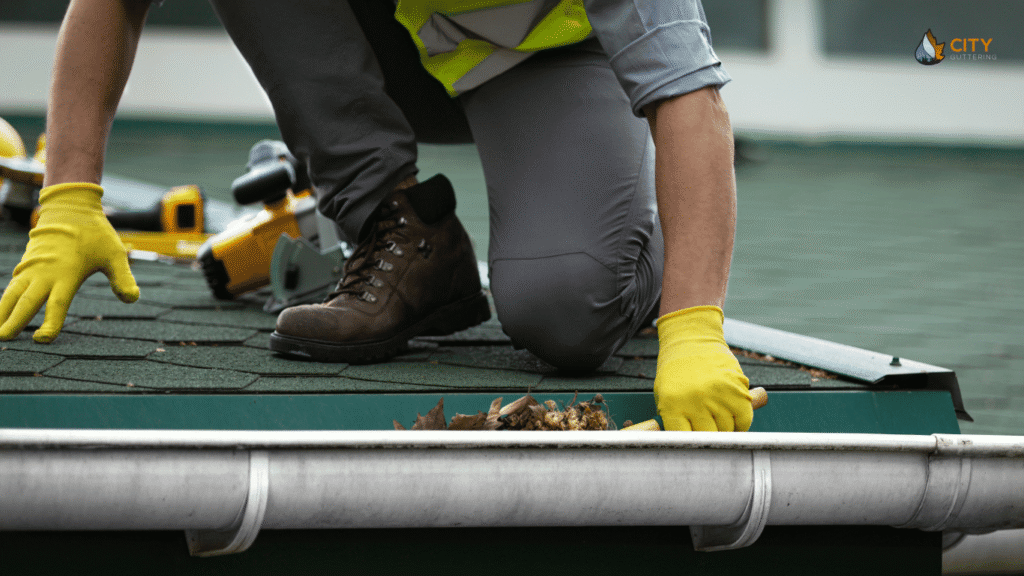
Step 2 – Clean the Gutters Thoroughly
Gutters won’t seal properly if dirt is in the way. Use a scoop, brush, or hose to clear out leaves and sludge. Wash down the joint area and scrape away any old sealant. A clean surface is vital for the new repair to hold.
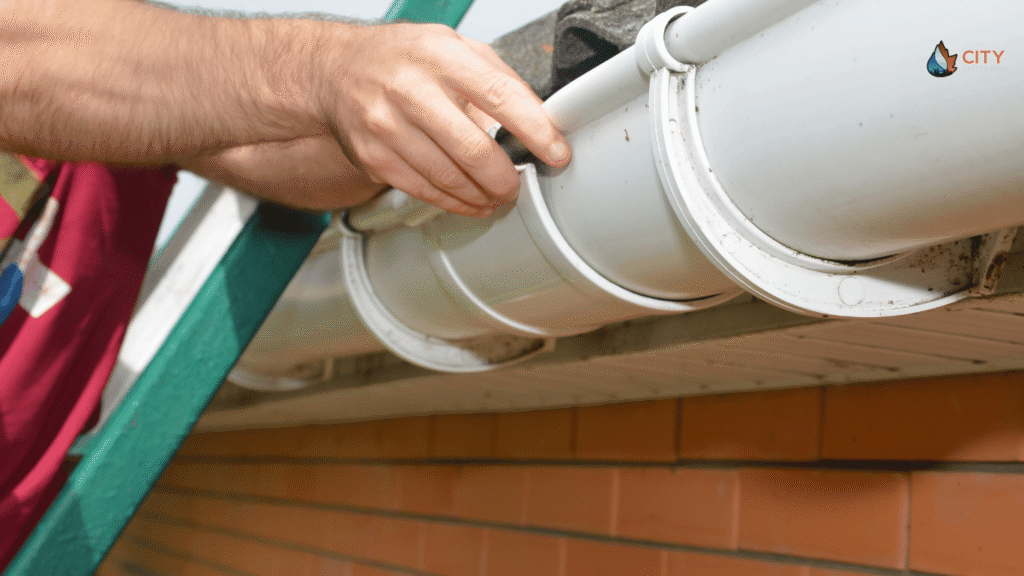
Step 3 – Reseal or Replace the Joint
- For small leaks: Apply gutter sealant along the seam, pressing it into the gaps. Smooth with a putty knife or gloved hand.
- For bigger issues: Replace the joint connector or rubber seal, tighten screws, and ensure the sections line up correctly.
Step 4 – Test the Repair
Run water through the gutters with a hose. Watch closely to see if the joint stays watertight. If you still see drips, add more sealant or check for misalignment.
Temporary Fixes vs Permanent Solutions
Sometimes leaks appear in the middle of a storm, and a quick patch is needed until proper repairs can be done.
Temporary fixes:
- Waterproof tape wrapped around the seam
- Quick caulking over the leak
- Plastic sheeting to redirect water away
Permanent solutions:
- Using professional-grade sealant on cleaned joints
- Replacing cracked connectors and seals
- Re-aligning sagging gutter runs
Temporary patches are fine in an emergency, but only permanent repairs protect your home long term.
When to Call a Professional Gutter Specialist
DIY fixes are possible, but not every situation can be solved from a ladder. It’s time to call professionals if:
- The gutters are sagging or misaligned
- Multiple leaks appear across different joints
- Fascia boards show signs of rot or mould
- You’ve resealed the joint but water still leaks
- The guttering system is old and badly corroded
A trained gutter specialist won’t just repair the joint; they’ll inspect the full system and prevent future leaks.
Preventing Future Gutter Leaks
Once your gutters are repaired, regular upkeep helps keep them leak-free.
Prevention checklist:
- Clean gutters at least twice a year, ideally spring and autumn
- Install gutter guards to block leaves and debris
- Inspect seals and screws every few months
- Tighten loose brackets to prevent shifting
- Arrange an annual inspection before the winter rains
These small steps extend the life of your gutters and reduce the risk of recurring leaks.
Why Choose City Guttering London for Gutter Repairs?
Fixing leaking joints can be messy, time-consuming, and sometimes dangerous without the right equipment. That’s why many homeowners in London and Surrey turn to City Guttering London.
Here’s what sets us apart:
- Proven expertise: Over 200 five-star reviews from happy customers
- Fast response: Free quotes within 45 minutes
- Comprehensive service: Cleaning, repair, and full gutter replacement
- Emergency repairs: Available when urgent leaks threaten your property
- Local coverage: Serving South London, South West London, Central London, Surrey, and Hampshire
With our skilled team, you get repairs that last and peace of mind during every heavy downpour.
Final Thoughts on Fixing Leaky Gutter Joints (How To Repair Leaking Gutters At Joints)
Leaking gutter joints might seem like a small nuisance, but ignoring them can lead to damp walls, water pooling around your foundations, and even costly structural problems. Repairing the leak yourself is possible if you have the right tools and follow the correct steps, but professional help ensures a thorough and lasting fix.
At City Guttering London, we specialise in keeping gutters in top condition. Whether you need a quick joint repair, a full clean, or emergency assistance, our team is ready to help protect your property.